Have you heard about Lego's latest version of their codeable robots for primary students? I have been teaching a summer camp sponsored by a local college this summer and I am IN LOVE with the WeDo 2.0 kit. Click the image to learn more.
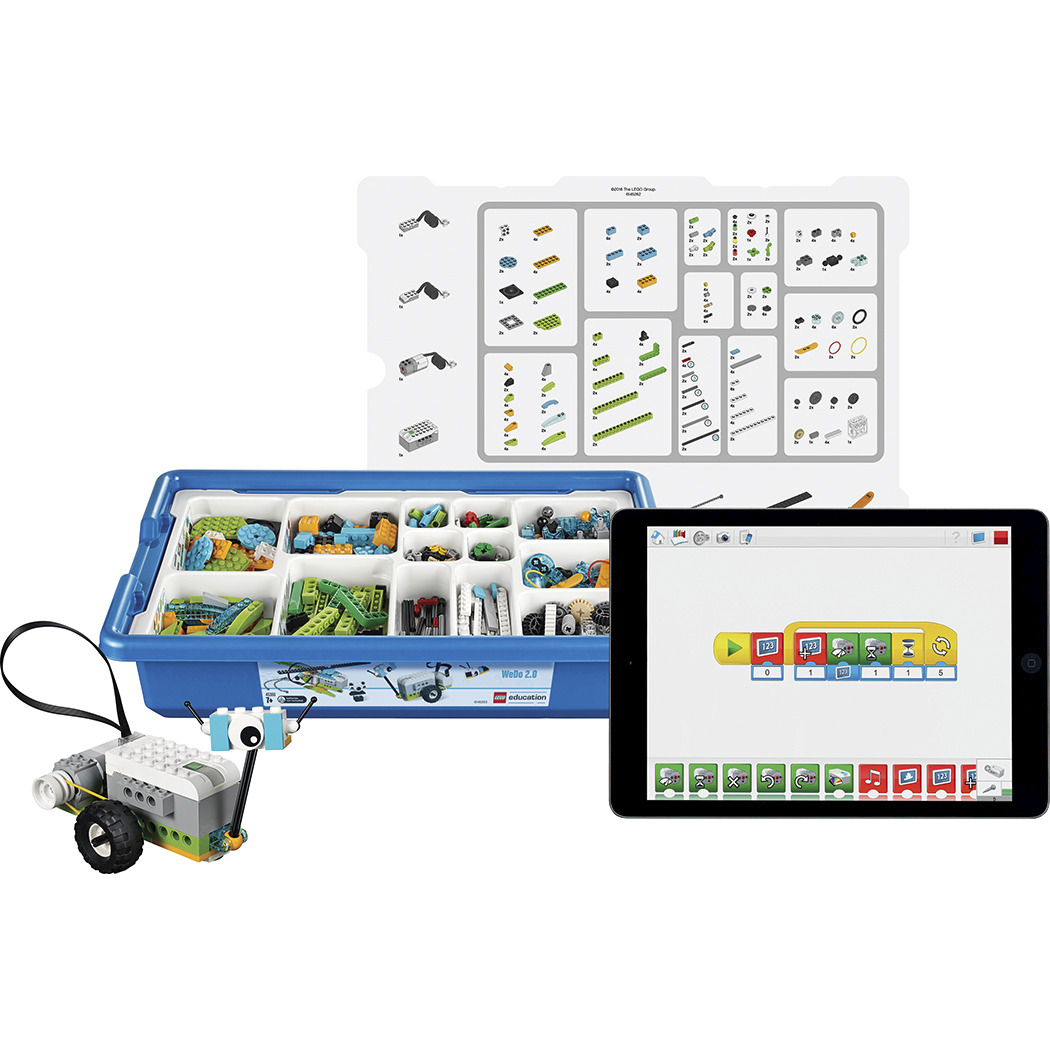
It is a set for primary aged students, maybe 1st-4th grade. It costs about $190 for one set, but they are amazing. I have 10 sets so each kiddo was able to get their own, but they could easily be shared by 2 or 3 students as well.
The kit comes with 280 building pieces, a nice tub with a lid (which is awesome for stacking when you're done), 2 sensors and a smarthub (battery pack). It also comes with a bluetooth dongle you plug into a computer if you need it, otherwise you just need to download the free wedo 2.0 software from Lego.
The set up is easy peasy...just buy the kit and download the software (link above). I was using desktops in a computer lab set up so I also utilized the bluetooth dongles. More on troubleshooting those tricky devices and syncing your robot later.
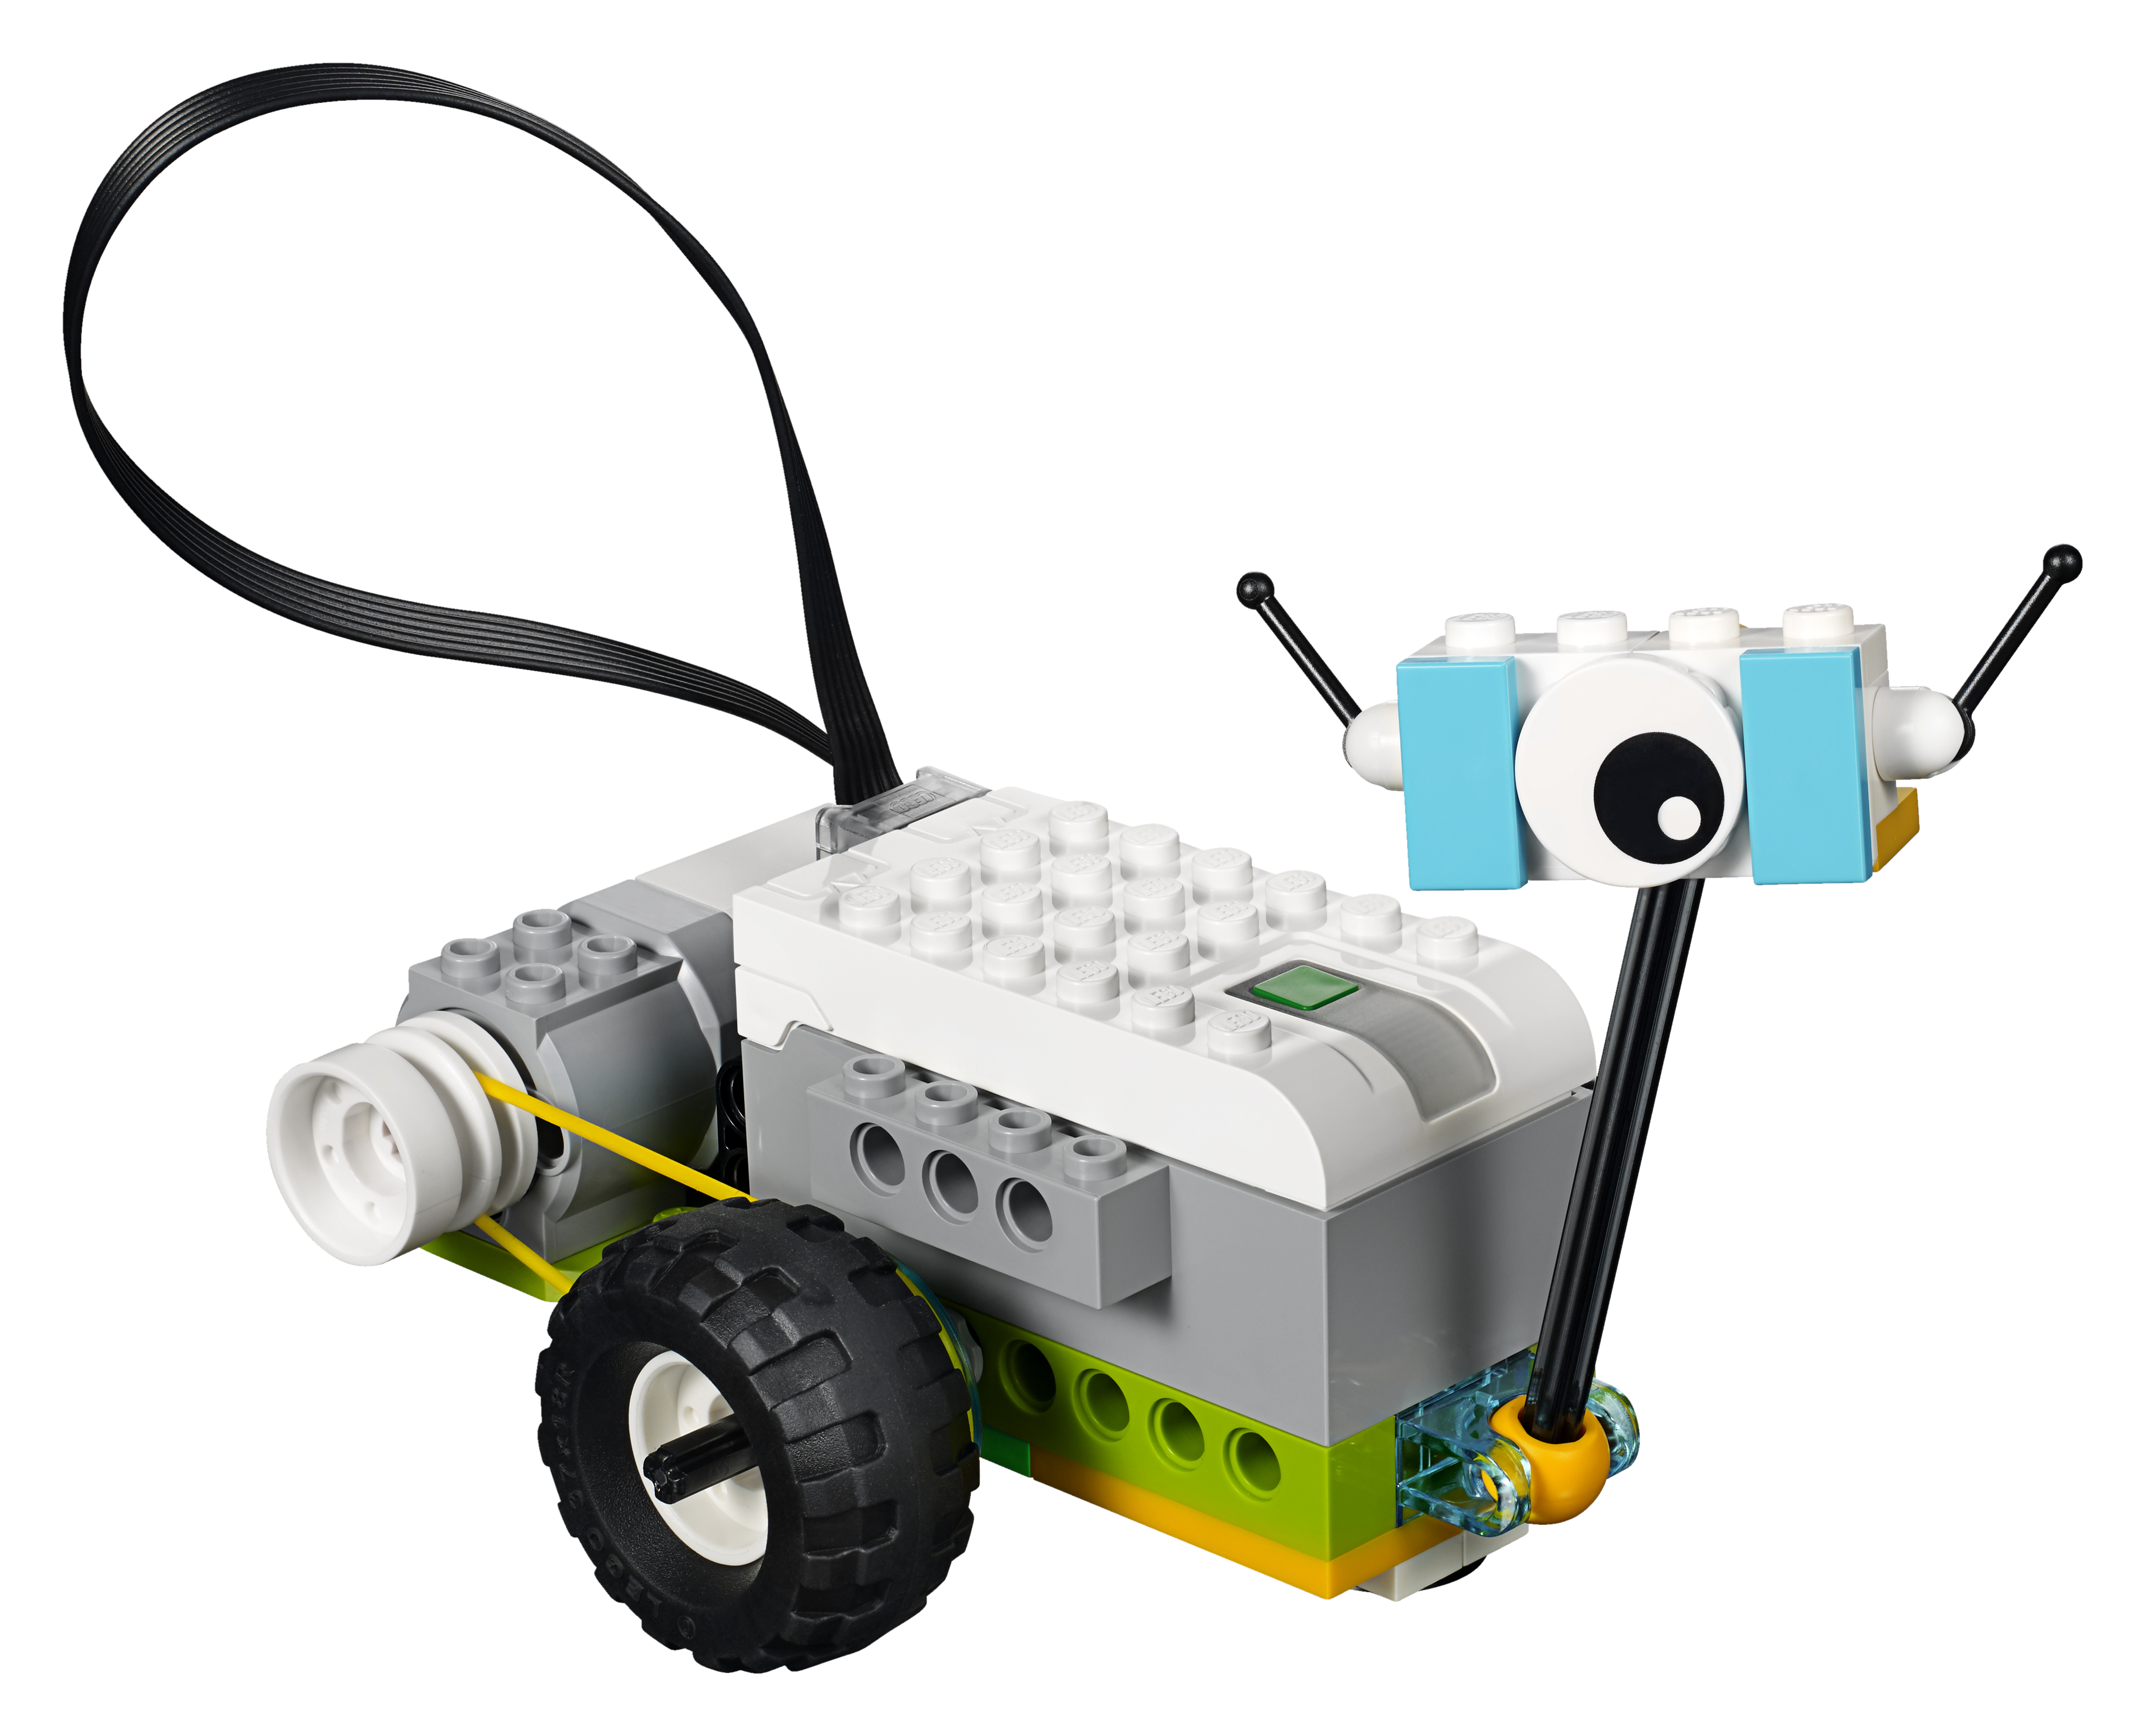
Since I was teaching students who had just completed 2nd-4th grade, I began with a project with a beginner project, the Milo Rover. Isn't he cute?
However, prior to passing out the legos I introduced some new vocaublary to the students. I began with algorithm which is a list of important steps. Use one of your fun vocab strategies or actions to help the kids remember. Since my class was just there for a few hours, I asked them to give me the most important steps to draw a smiley face. Seems simple right...wrong! I literally draw exactly what they say. "Draw a small circle" I drew a tiny circle barely visable on teh board. "Draw two eyes." I drew two I I inside the circle. They usually get the giggles and then realize they need to add specific details like size (comparisons), shape, and directions. After about 5 minutes, they finally get you to draw a rough smiley face :)
We then move on to program which is a list of important steps that can be coded and run by a machine. To practice this new vocabulary word I played an unplugged activity. I passed out 9 sheets of white paper, one of which had a small smiley face in the corner. I instructed the kids top break into partners. One of them was the programmer and one of them was going to be the computer. The programmer placed the pages on the floor in any matter they wanted (3x3 grid works easily), but they needed to remember where they placed the paper with the smiley face. Once they were ready, the computer received directions from the programmer in order to locate the smiley face. Most programmers keep it simple "move 2 steps to your right," or "take one step backwards." Once the computer locates their destination, the kids switch roles. They loved this and many were creating paths or circles which were more difficult to provide specific directional codes to their partners so I was a happy teacher. If you want there is also a great video about the Mars Curiosity Rover which is very similar to the Milo which I showed as well.
Now I felt like they had enough background knowledge to dive into the wedo kits--side note--we had already done about 6 hours of color code and block code with ozobots so they were familiar with programming/coding at this point-more on ozobots in an upcoming post.
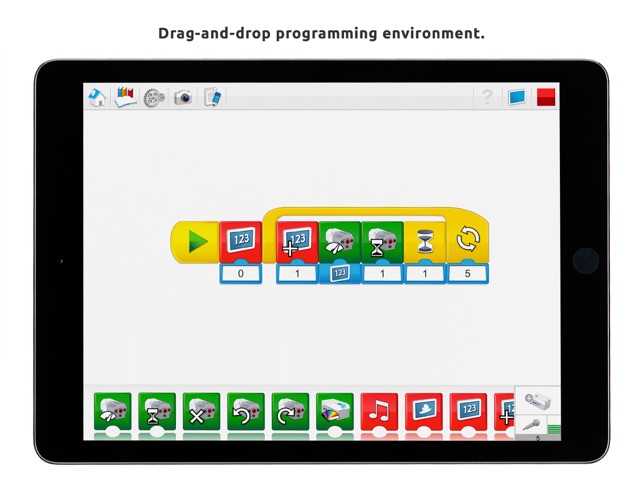
Back to Milo, yep he is still pretty cute. I don't walk the kids through teh build. They love legos, they are engaged, they are motivated, they are masters. Once everyone has a rover, the wedo software moves to a picture of their code --->
Links to more Wedo 2.0 posts:
- Coding Wedo 2.0 robots
- Syncing Wedo 2.0 robots
- Troubleshooting Wedo 2.0 robots
- Wedo 2.0 Robotics Challenges
Comments
Post a Comment